Nodes
How to add a node to the tree:
- Right-click on any node in the tree to open the context menu and choose "Enable Edit Mode".
- a) Right-click on a node and choose "Add tree sub-node" from the context menu. This adds a sub-node to the node selected.
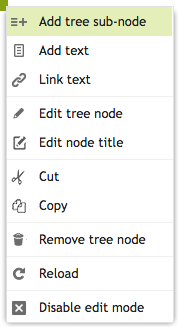
b) Hover with the mouse between two nodes or below the bottom edge of the last node. A "+"-icon will appear. Right-Click this icon and choose "Add node" to add a node on the same level of the tree.
Note: To add a sub-node the user needs writing access to the superordinate node.
c) Click on "New Tree Node" in the Menu "Add" to add a node.
Note: This is the only way to add the first node to a fresh system.
- In both cases a window will open, allowing you to adjust the settings for the added node:
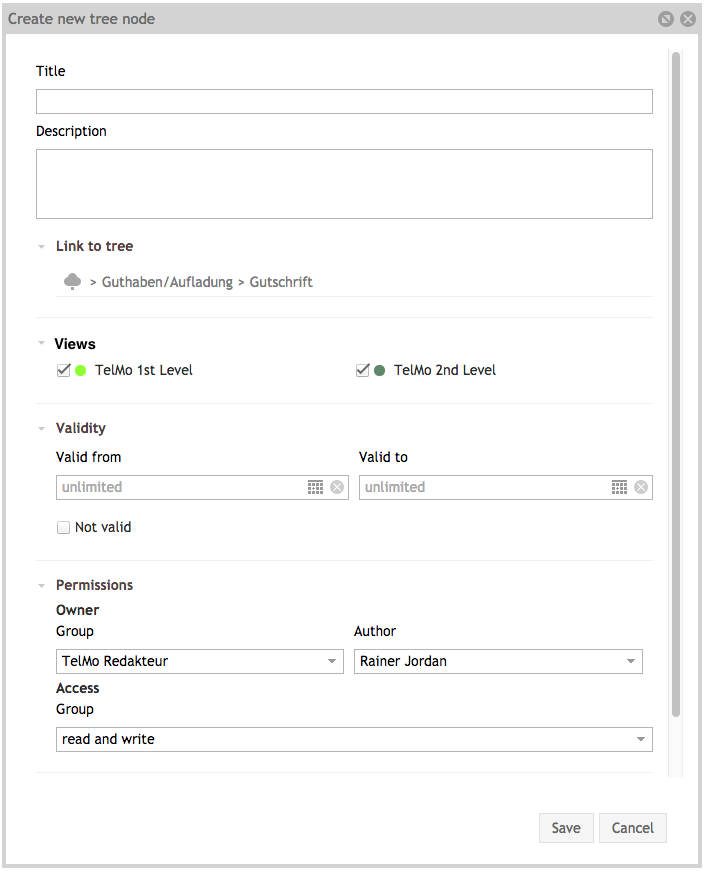
Title and description: Entering a title for the new node is mandatory while entering a description is optional. The description is limited to 2000 characters.
View(s): At least one view has to be selected for the new node. All branches the current user has access to and are assigned to the upper-level node can be selected.
Validity: Entering a period of validity is optional. It a node should not be visible at once after its creation, the checkbox "Not valid" can be selected. With this the node can only be access by users with writing access through the editing mode of the tree.
Permissions: The permissions and the author of the node can be adjusted. The current user will be preselected by default, but can be changed to any user with writing access. The preselected group will be the alphabetically first group the current user is a member of. Any group can be selected that has access to this node and that the current user is a member of.
- Clicking on "Save".