Assigning Categories to Messages
Categories are assigned to messages when they are created. The user does not require any special permissions to do this. Only categories with the content type “Messages” can be assigned to SABIO messages.
Categories can be assigned in the section “Categories” which is initially opened up when creating a message.

The categories whose assignment to messages in mandatory, are listed in the section “Categories”. The list shows the category title, the assign category values, as well as the options for editing or deleting the respective category. Initially, the list contains all of the categories, that have to be assigned to a message, so that the user is required to select category values for these categories. Optional categories and category values can be added by clicking on the button “Add category”.
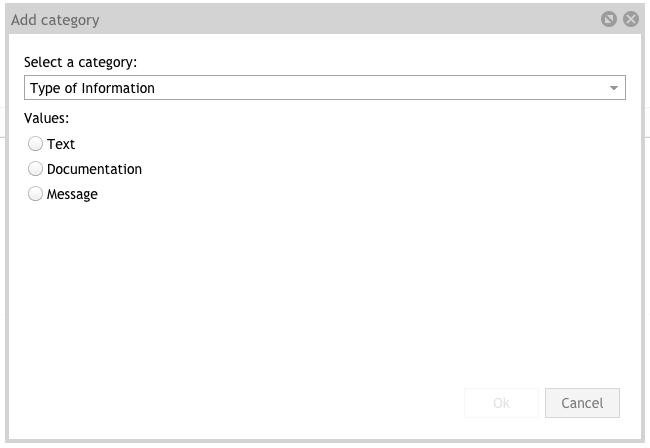
First, the user selects a category from a drop down menu which contains all optional categories for messages. After selecting a category the user can select one or - if multiple assignment is activated - several category values. By clicking on “Cancel” or by closing the window, the assignment of a category can be aborted. By clicking on “OK”, the selected category and the category value(s) are assigned to the message.
By clicking on the edit icon, already assigned categories can be modified, i.e. the category value(s) can be changed again - as long as the message has not been sent.
Optional categories can be removed via the “Delete” icon. Mandatory categories can not be deleted from the list.
The assignment of the categories is saved, when the message is saved. Since messages cannot be edited after sending them, categories assigned to a message cannot be explicitly edited. Modifications to the categories assigned to a message only occur, if the category values were changed or deleted in the admin tab. Then, the respective categories assigned to a message are also modified or deleted.